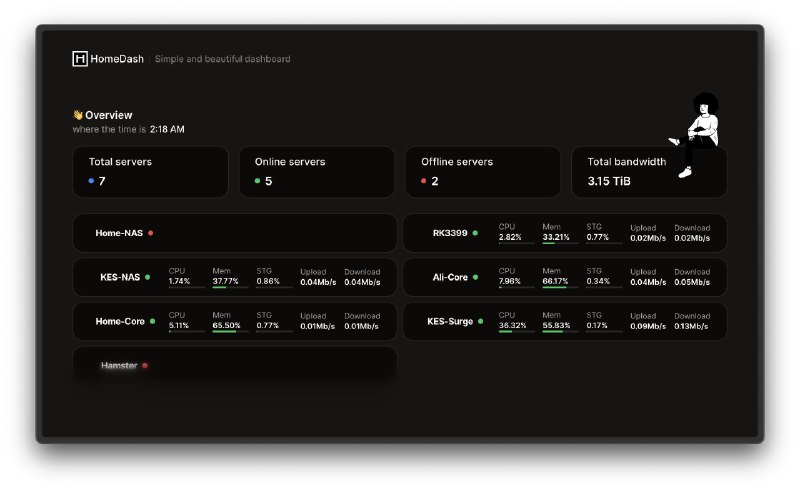
- ❤️3
- 👍1

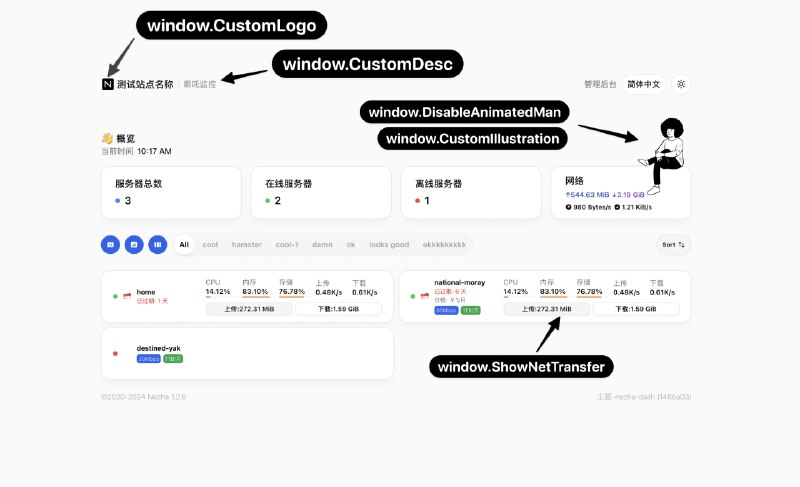
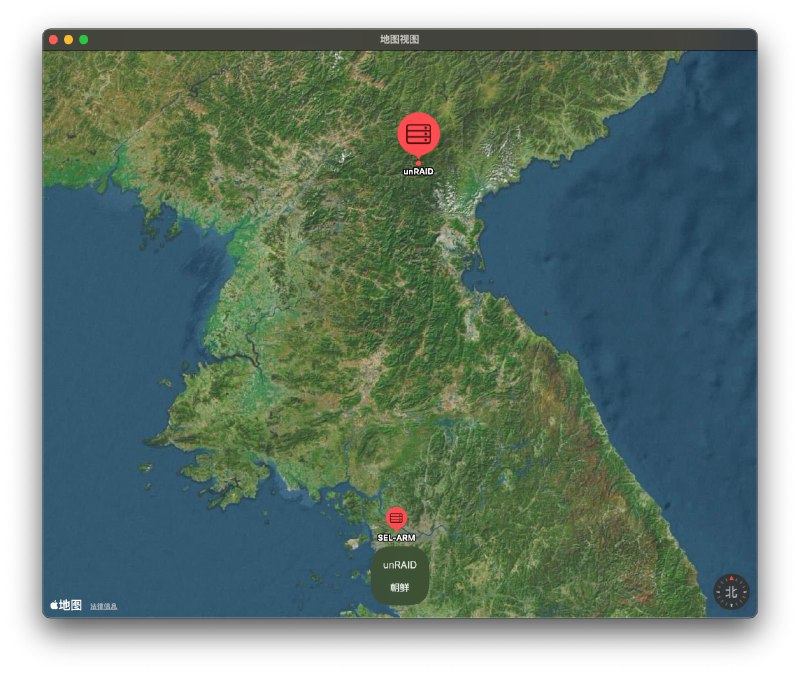
/opt/nezha/agent/config.ymlcustom_ip_api:
- '此处填入一个会返回 IP 地址的 API 地址'/opt/nezha/v1/agent 里nezha-agent-v1curl -L https://gist.githubusercontent.com/xream/d74795837e2e0d5a7a79d8d8dc729657/raw/nezha-agent-v1.sh -o /tmp/nezha-agent-v1.sh && chmod 777 /tmp/nezha-agent-v1.sh && env NZ_SERVER=grpc.xxxx.com:443 NZ_TLS=true NZ_CLIENT_SECRET=yyyyyyy /tmp/nezha-agent-v1.sh > /tmp/nezha-agent-v1.log 2>&1app -v 判断本地版本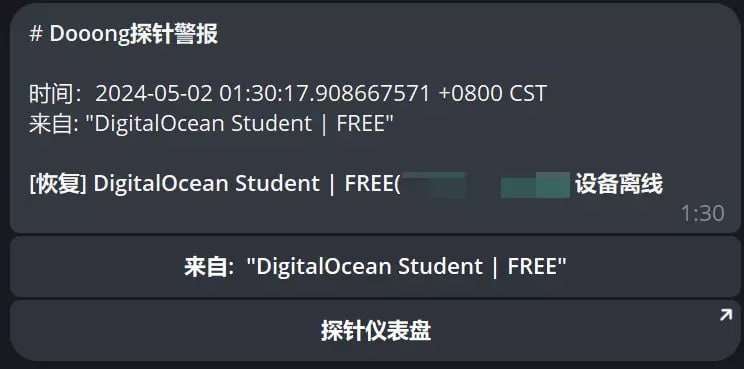
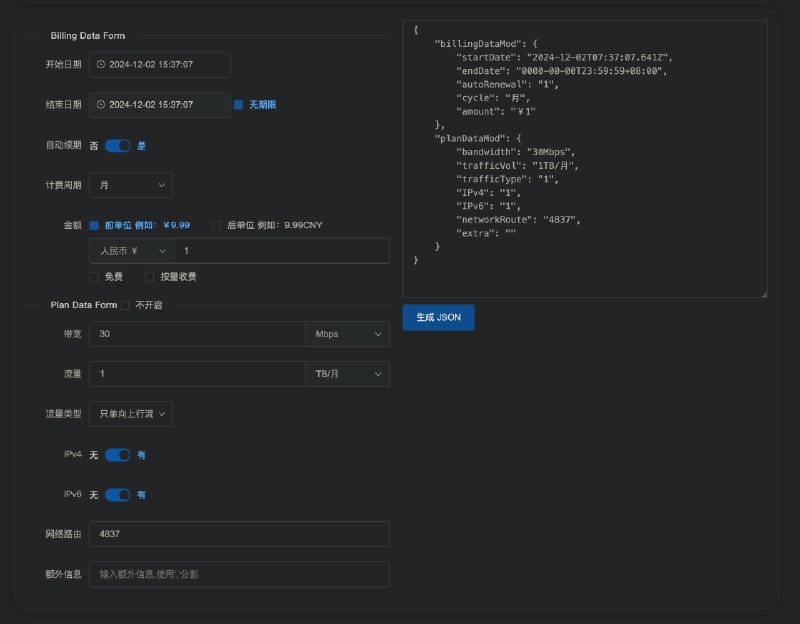
/opt/nezha/agent/config.ymlgpu: false // 是否检查GPU
temperature: false // 是否检查温度
skip_connection_count: true // 跳过连接数检查
skip_procs_count: true // 跳过进程数量检查
report_delay: 3 // 报告间隔
dns: // DNS
- 8.8.4.4:53
- 9.9.9.12:53
- 208.67.220.220:53
- 94.140.14.141:53 探针合集
探针合集  合集
合集  群组
群组  恰饭
恰饭  联系推广
联系推广 #哪吒探针 #nezha #agent #nezha-agent #哪吒 #探针 #监控 #IP #unraid #nas #保活 #自动重启 #掉线
jq#!/usr/bin/env bash
api_key=""
chat_id=""
if ! pgrep -x nezha-agent > /dev/null || journalctl -o cat -u nezha-agent | grep -i "error" > /dev/null; then
# 重启服务
systemctl restart nezha-agent
# 清空日志
journalctl --rotate
journalctl --vacuum-time=1s
echo "nezha-agent service restarted and logs cleared."
curl -F disable_notification=true -F chat_id=$chat_id -F text="[$(hostname)] 哪吒探针已重启" https://api.telegram.org/bot$api_key/sendMessage > /dev/null
fi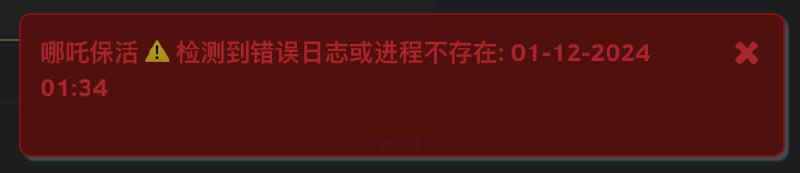
*/1 * * * *#!/usr/bin/env bash
log_message() {
local message="$1"
echo -e "[$(date '+%Y-%m-%d %H:%M:%S')] $message"
}
send_notification() {
local title="$1"
local body="$2"
local icon="$3"
log_message "发送通知 $title\n$body"
/usr/local/emhttp/webGui/scripts/notify \
-e "哪吒保活 $title" \
-s "" \
-d "" \
-i "$icon" \
-m "$body" \
-l "http://unraid.local:60080/Settings/Userscripts"
}
cd /dev/shm/nezha
if cat nezha-agent.log | grep error || ! pgrep -x nezha-agent > /dev/null; then
echo "" > nezha-agent.log
killall nezha-agent > /dev/null
./nezha-agent > ./nezha-agent.log 2>&1 &
send_notification "⚠️ 检测到错误日志或进程不存在" "自动重启" "alert"
fi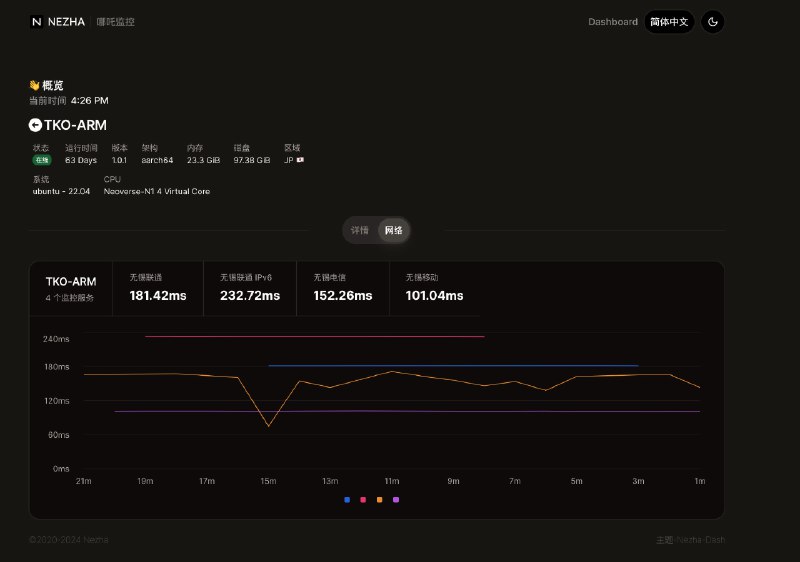
/opt/nezha/dashboard/docker-compose.yaml 里 端口设为 127.0.0.1:8765:443/opt/nezha/dashboard/data/config.yaml 里installhost: grpc.xxx.com
listenport: 443
tls: truegrpc.xxxxxxx.com:443 -> 127.0.0.1:8765grpc.xxx.com:443systemctl disable --now nezha-agent; rm -rf /opt/nezha/agent; curl -L https://raw.githubusercontent.com/nezhahq/scripts/main/agent/install.sh -o nezha.sh && chmod +x nezha.sh && env NZ_SERVER=grpc.xxx.com:443 NZ_TLS=true NZ_CLIENT_SECRET=yyy ./nezha.sh/opt/nezha/agent/nezha-agent edit/opt/nezha/agent/config.ymluuid: "UUID 区分小鸡"
gpu: false # GPU
temperature: false # 温度
client_secret: "yyy" # secret
hard_drive_partition_allowlist: # 硬盘
- /
nic_allowlist: # 网络
ens3: true
server: "grpc.xxx.com:443"
tls: true # TLS
# ...省略 可以看 https://github.com/nezhahq/agent/blob/main/model/config.gosystemctl restart nezha-agent
./nezha.sh install_agent xxxx.com 443 yyyyyyyyyyy --tls./nezha-agent "-s" "xxxx.com:443" "-p" "yyyyyyyyyyy" "--tls"/home/xxx/nezha 文件夹. 如果你需要自定义配置, 进入 /home/xxx/nezha, 执行 ./nezha-agent edit, 配置文件会生成在当前目录下/home/xxx/nezha 里创建 nezha.shcd /home/xxx/nezha;
rm -rf new.zip
arch=$(arch | sed s/aarch64/arm64/ | sed s/x86_64/amd64/)
curl -L "https://github.com/nezhahq/agent/releases/latest/download/nezha-agent_linux_$arch.zip" -o new.zip
unzip -o new.zip
rm -rf new.zip
chmod a+x nezha-agent
killall nezha-agent
./nezha-agent "-s" "xxxx.com:443" "-p" "yyyyyyyyyyy" "--tls" "--disable-force-update" "--disable-auto-update" > /dev/null 2>&1 &cd /home/xxx/nezha;chmod a+x nezha.sh; bash nezha.sh
nezha-agent_linux_amd64.zipcurl -L https://raw.githubusercontent.com/naiba/nezha/master/script/install.sh -o nezha.sh && chmod +x nezha.sh && ./nezha.sh install_agent xxxx.com 443 yyyyyyyyyyy --tls./nezha-agent "-s" "xxxx.com:443" "-p" "yyyyyyyyyyy" "--tls"/home/xxx/nezha 文件夹, 里面放入 nezha-agent 二进制文件/home/xxx/nezha, 执行 ./nezha-agent edit, 配置文件会生成在当前目录下cd /home/xxx/nezha; chmod a+x nezha-agent; ./nezha-agent "-s" "xxxx.com:443" "-p" "yyyyyyyyyyy" "--tls" > /dev/null 2>&1 &--disable-auto-update :禁用 Agent 的自动更新功能,增强安全性。--disable-force-update :禁用 Agent 的强制更新功能,增强安全性。
Agent 版本 v0.18.9 存在部分双栈 IP 的服务器无法自动更新 Agent 的 bug
bash <(curl -Lso- https://gist.githubusercontent.com/uubulb/3be8ad862aac98ef6cdae6d2c60be1e2/raw/update.sh)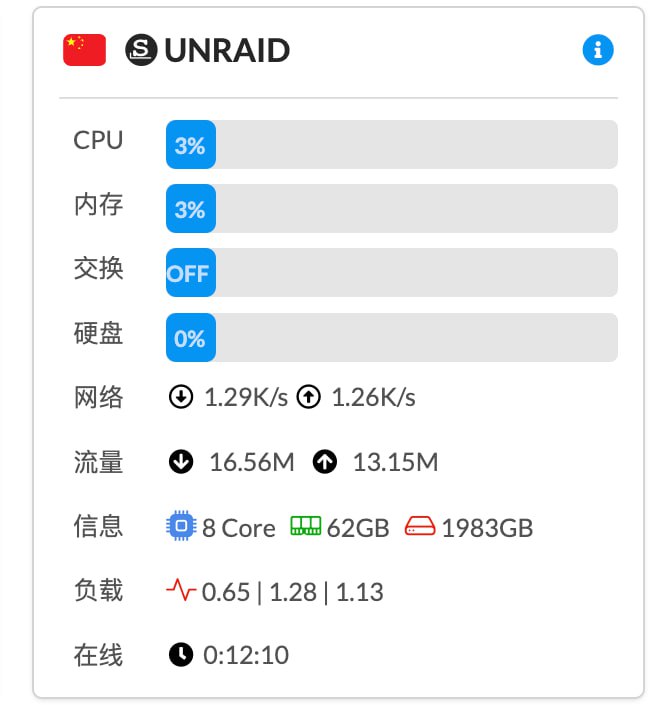
/etc/rc.d/rc.nezha 来管理服务nezha-agent_linux_amd64.zipcurl -L https://raw.githubusercontent.com/naiba/nezha/master/script/install.sh -o nezha.sh && chmod +x nezha.sh && ./nezha.sh install_agent xxxx.com 443 yyyyyyyyyyy --tls./nezha-agent "-s" "xxxx.com:443" "-p" "yyyyyyyyyyy" "--tls"/boot/config/nezha-agent 文件夹, 里面放入 nezha-agent 二进制文件/boot/config/nezha-agent, 执行 ./nezha-agent edit, 配置文件会生成在当前目录下/boot/config/go 最下面加上:cp -R /boot/config/nezha-agent /dev/shm/nezha-agent
cd /dev/shm/nezha-agent
chmod a+x nezha-agent
./nezha-agent "-s" "xxxx.com:443" "-p" "yyyyyyyyyyy" "--tls" > /dev/null 2>&1 &